Here is my 4z conversion thread for anyone who wants to do it the same why that I did. I read through all the different ones on ozgemini and everyone seems to leave out something or they all make it out to be like its bolt in. porbably would be if you just left to right swap the engine mount brackets.
I tested fit everything first in a rusty old s%*tty shell with 3 different methods.
I do it with the diesel cross member which you can see everything sat a while to far forward. After seeing a few other 4z cars not sure how much room youd get between the fan and the radiator but I suppose thermos would always be a good go.
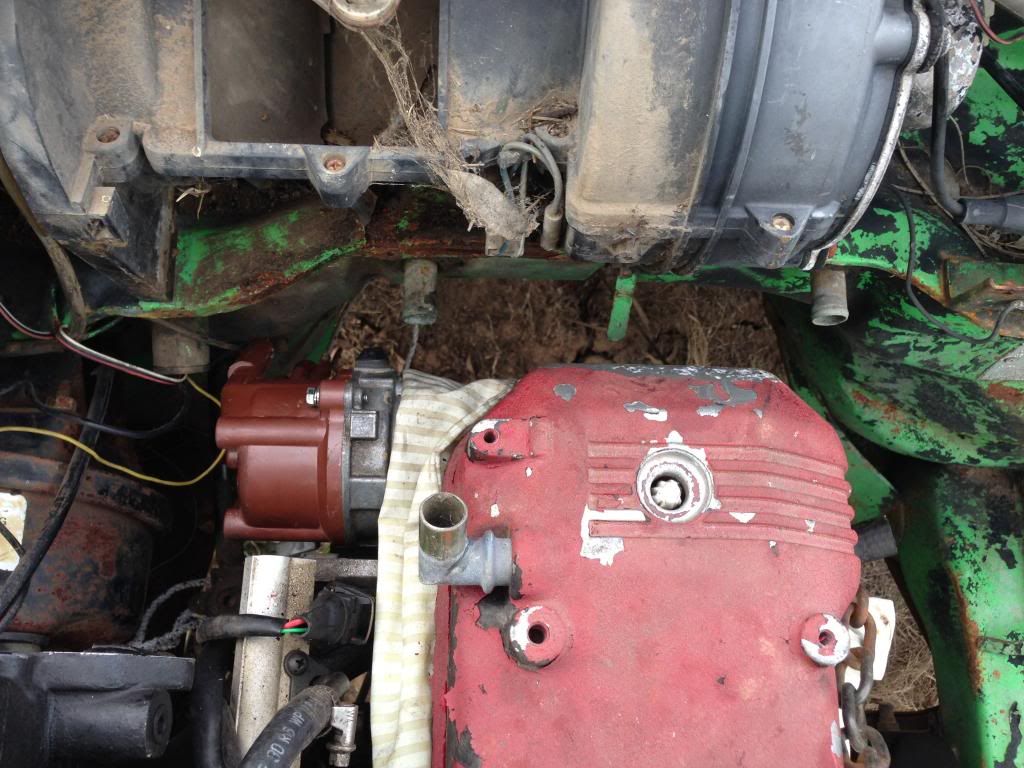
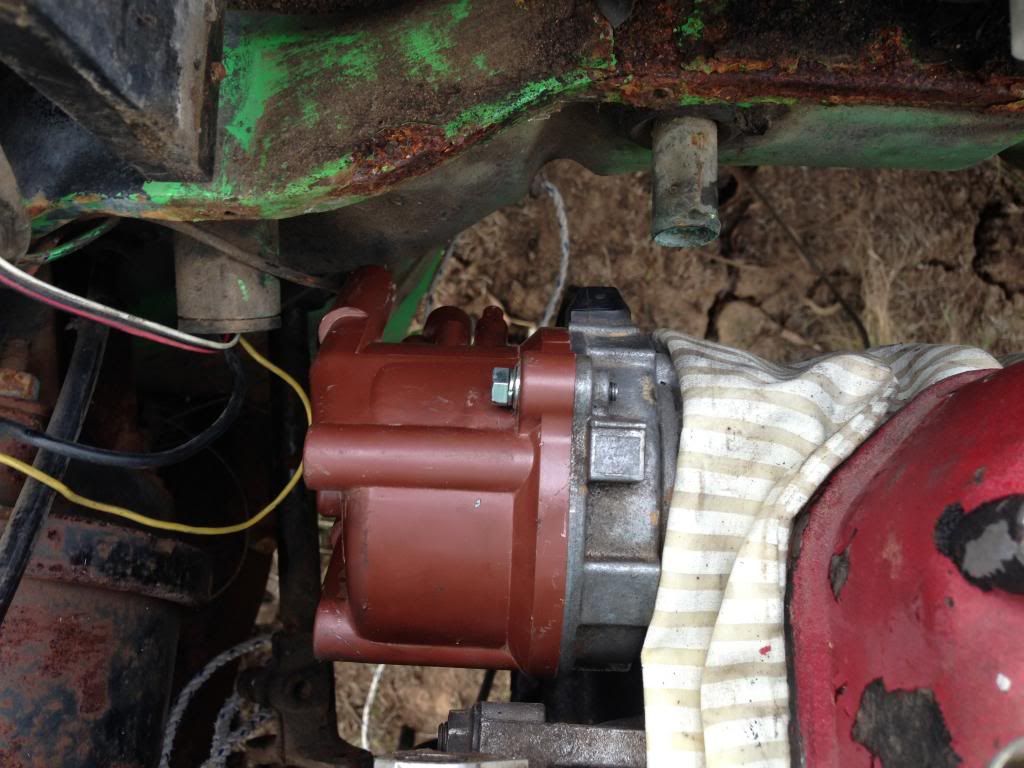
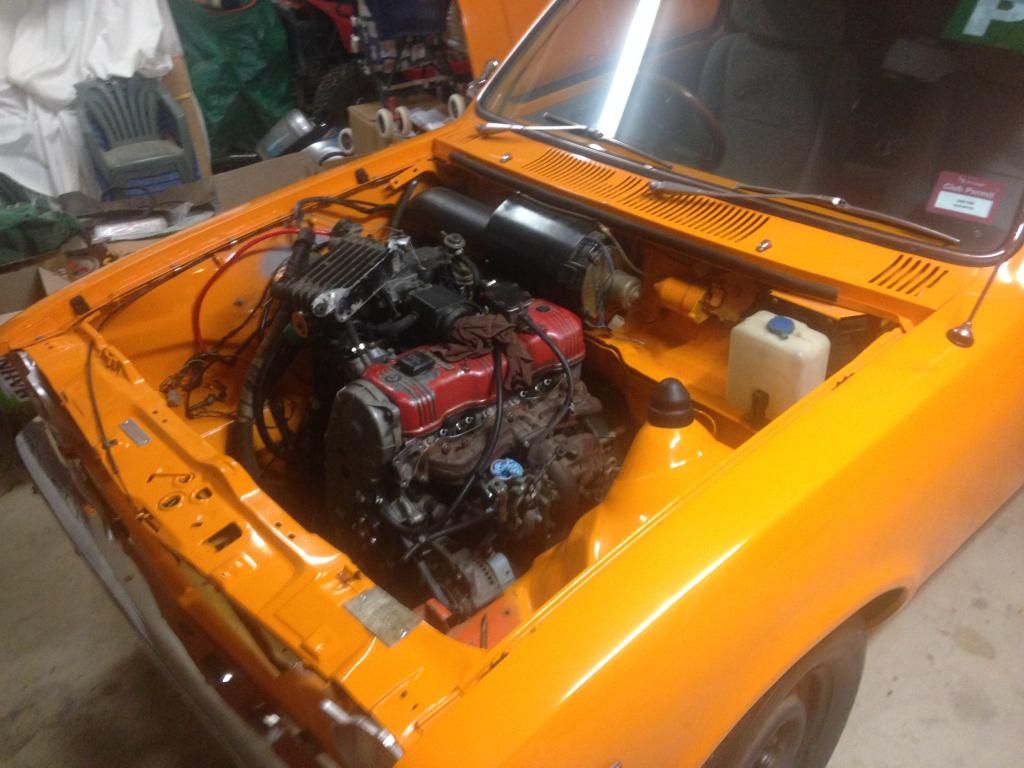
I did it was the engine left to right swap which actually sits a nice distance away from the firewall. If you still wanted to use the standard dissy only think I didn’t like was that it sat on a angle a little bit, not a great deal but enough to make we want to do it with the standard mounts. Ps I know the dissy is in the wrong way. I couldn’t get it to go in properly for some reason
This one is with all the mounts standard. After test fitting it coxy said I ought to attach a gear box as it will change the weight distribution and the engine will sit differently which I hand though about so back out to test it all again
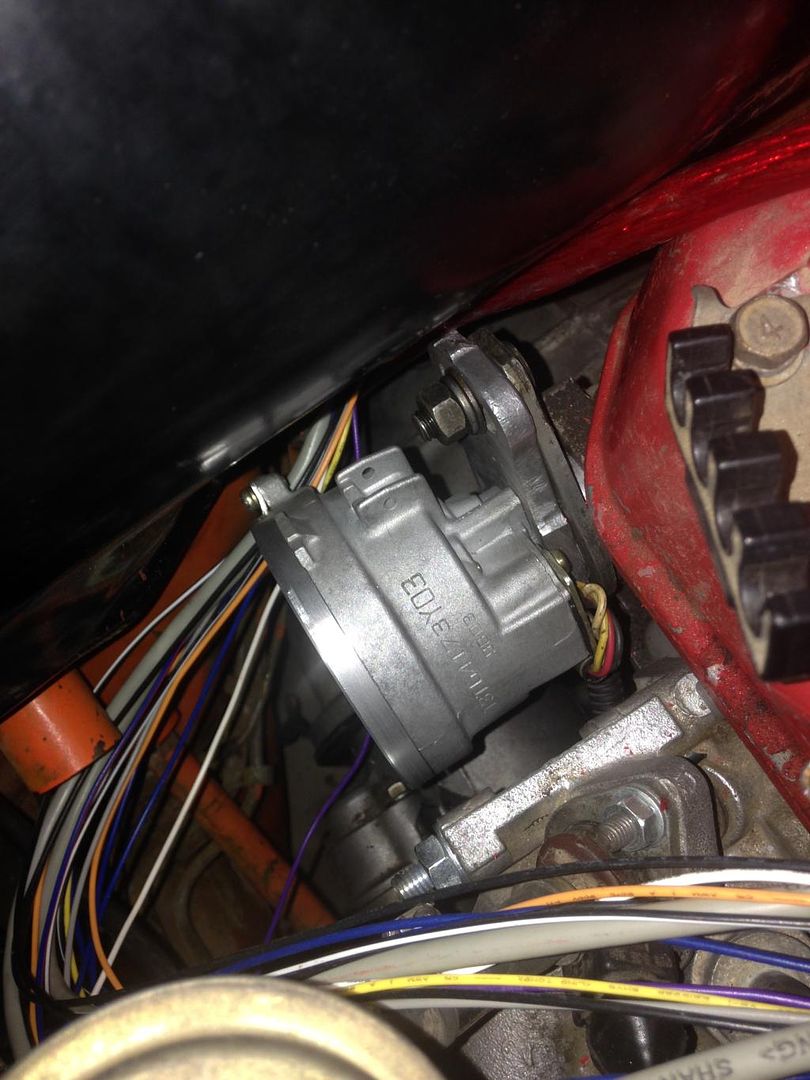
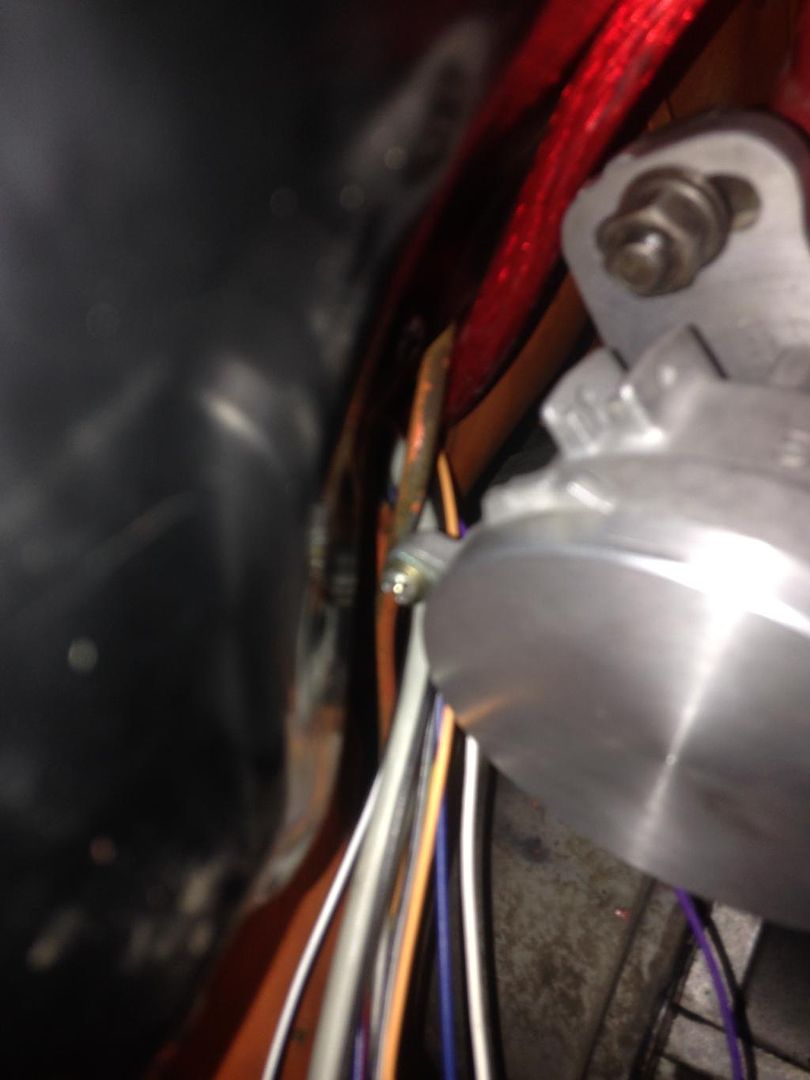
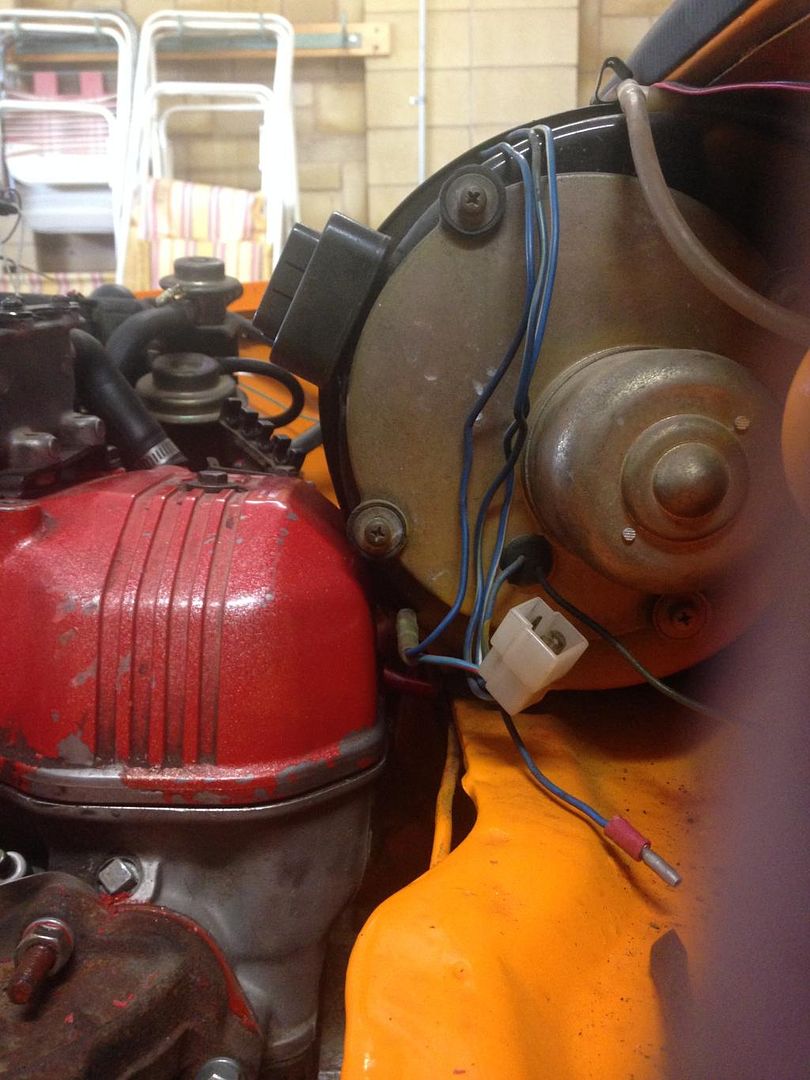
I still had clearance so I was happy that this was how id do it. I noticed when I looked underneath the car that the sump was hitting the steering rack so the engine needed to be spaced up. I used 4 or 5mm plate and drilled a few holes in to like it up with the hole in the x member. Probably ideally want to use 6mm plate and ill probably change it at some stage. As there was limited clearance for the dissy and I want to be able to just un bolt the engine and bolt in a standard g161 and have no one tell the difference I also opted to get a cas made up as with the standard the dissy cap being so large it would fowl on the firewall. The dissy ive end up with a ca lancer dissy modded to suit. Going to run a 4 coil set up but still have lots of wiring to go before its all in and running.

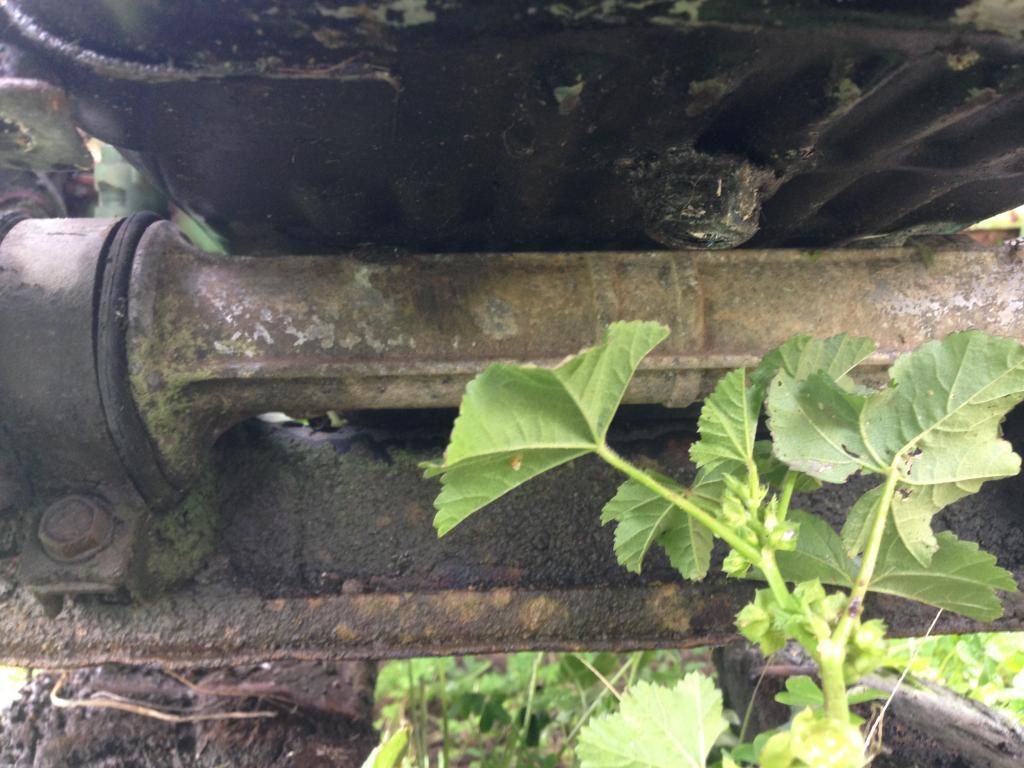
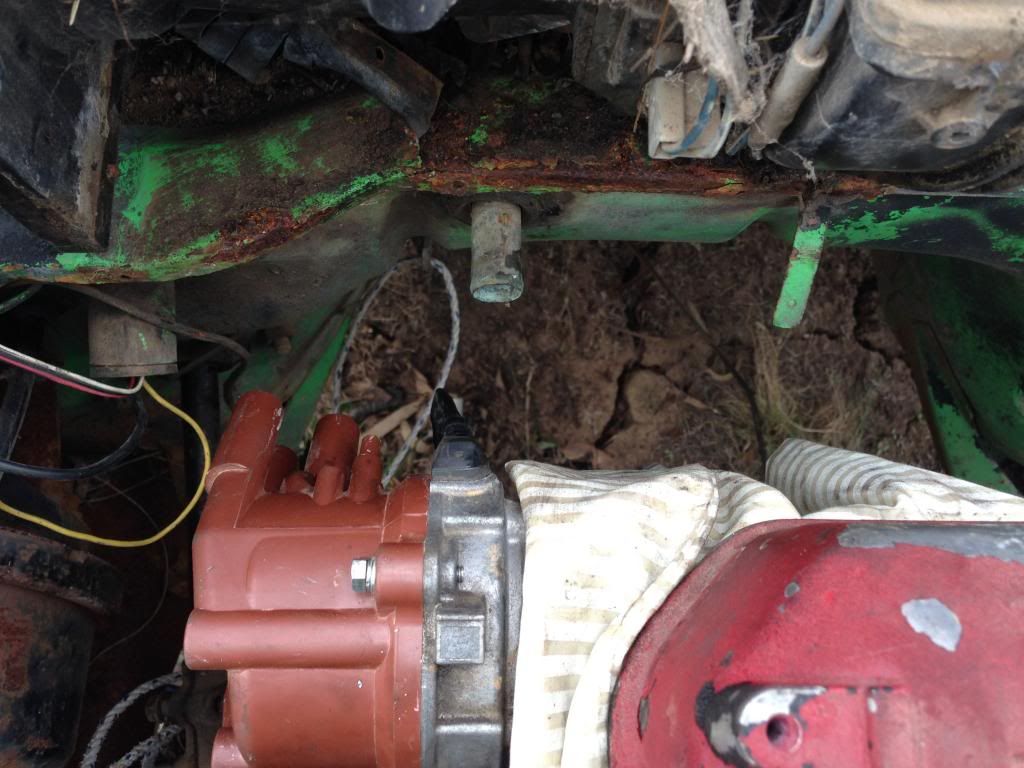
note there isn’t supposed to be a nut sitting on the bottom of this sump but someone else welded it on. If you look at when I put the engine in the car you can see how much clearance it has and that’s with some spacing under the mounts.
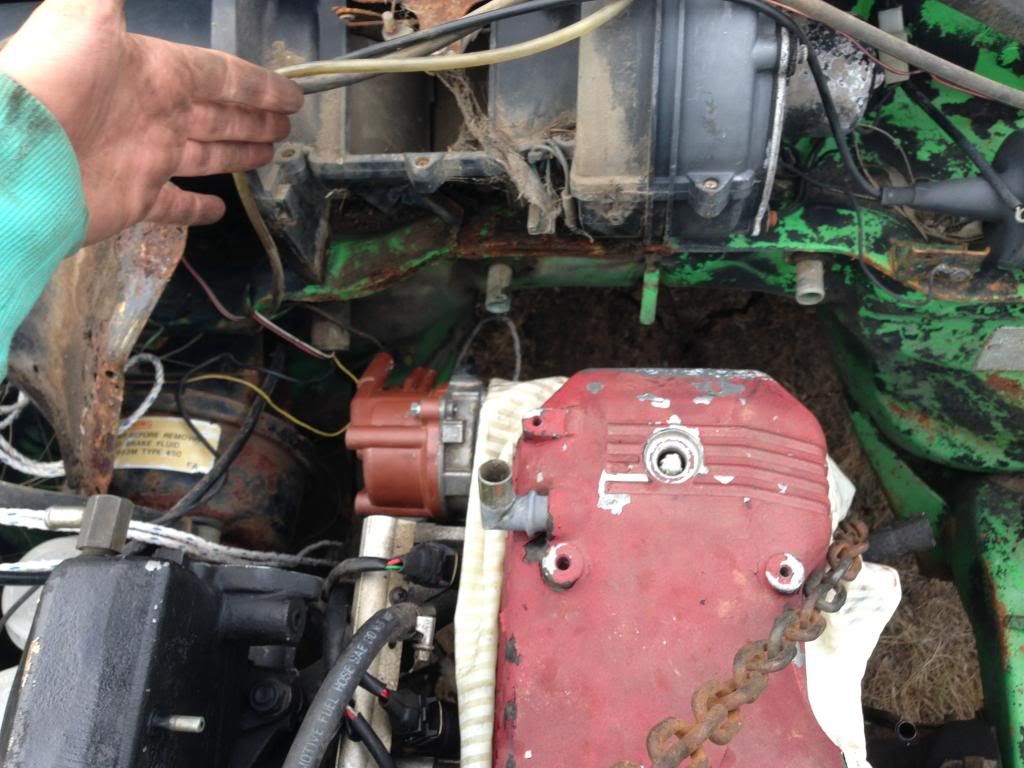
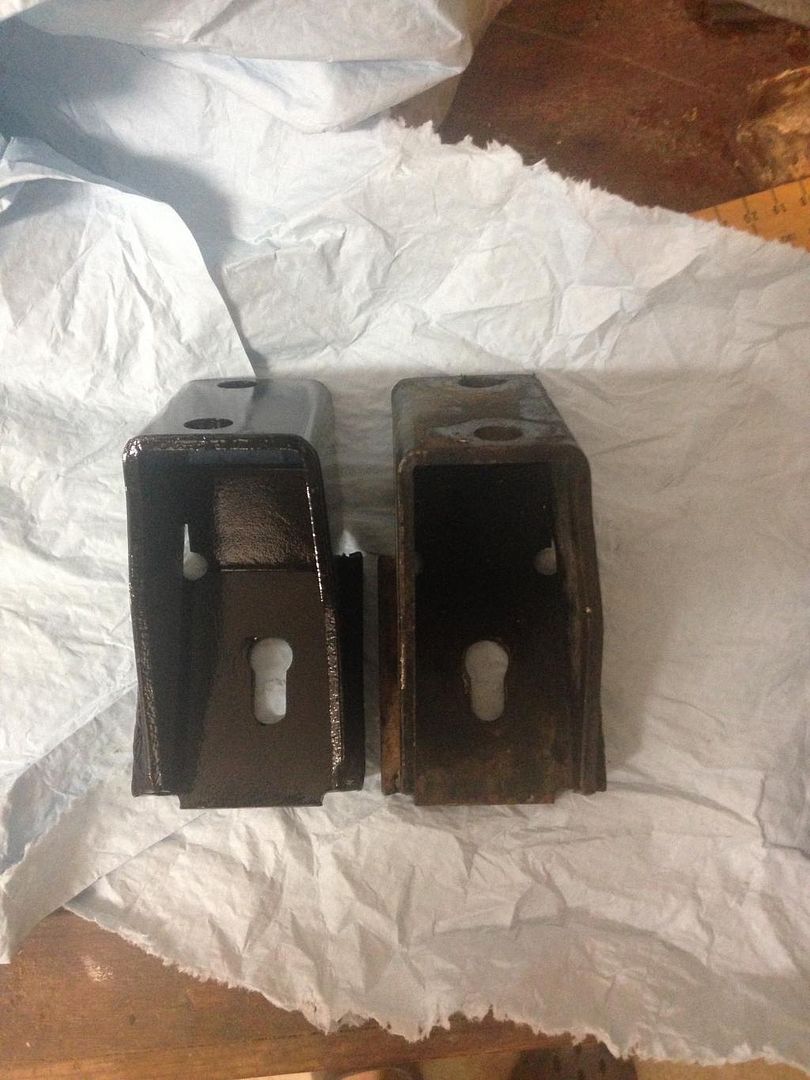
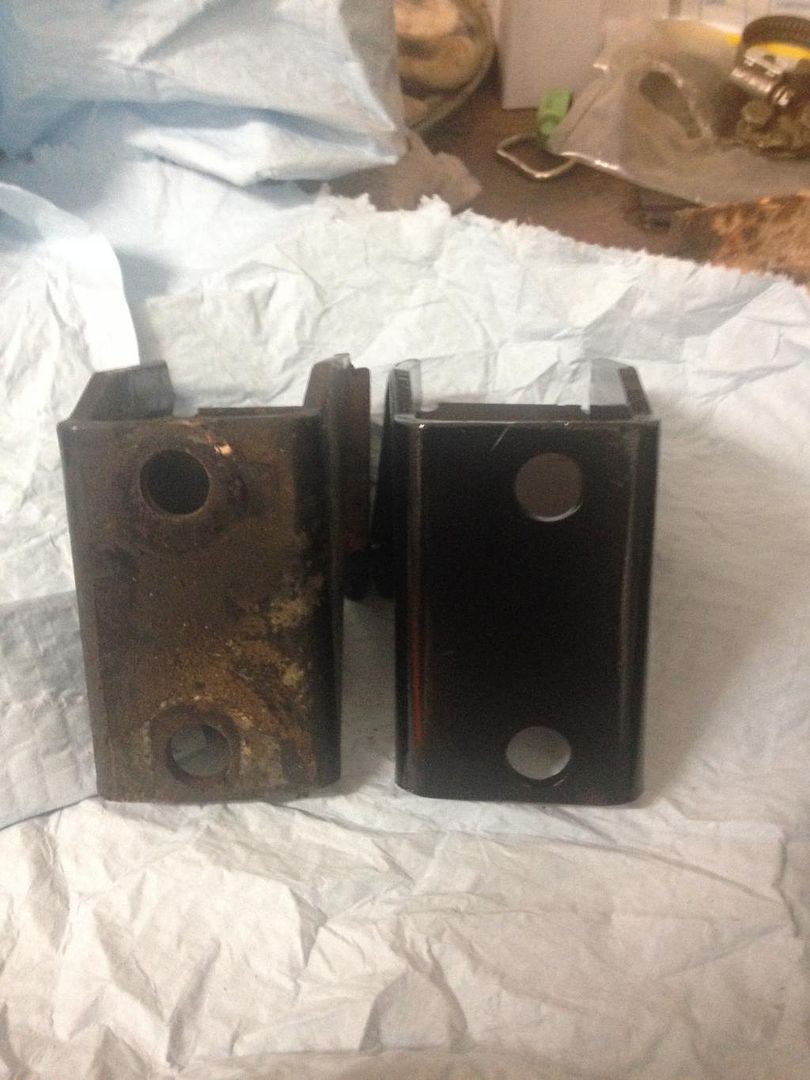
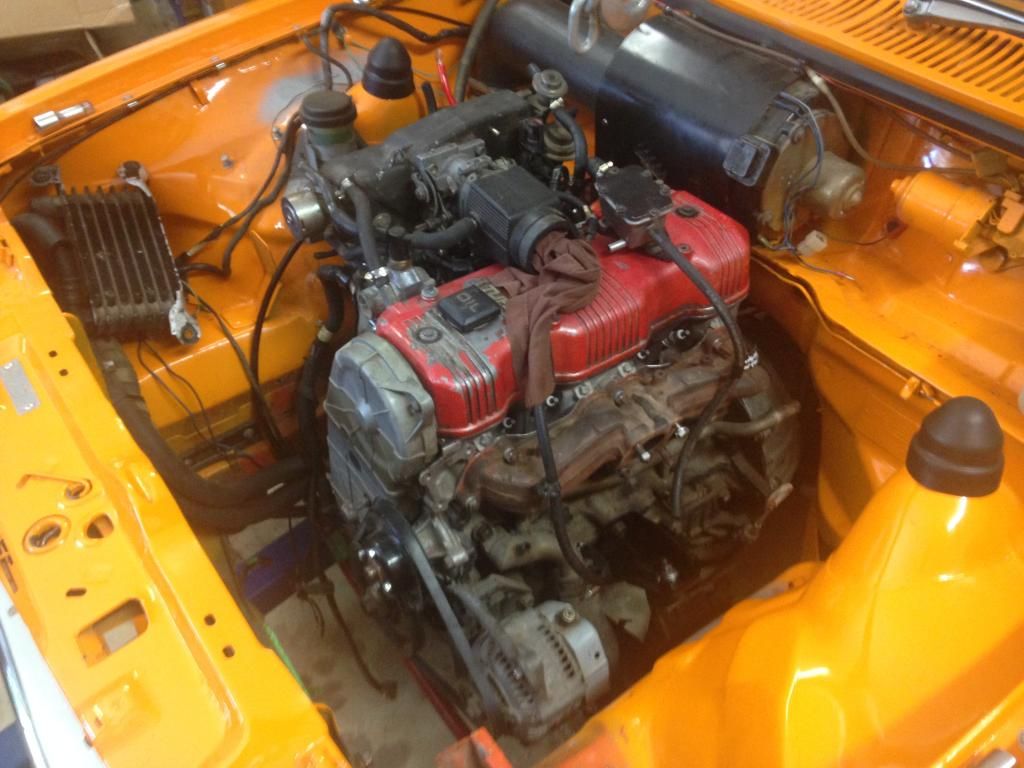
Then came the time to actually fit the engine to the car. I got hold of an engine crane and a load leveler. This is definitely a nicer way to install an engine than having the gear box and engine smash around when you just use a chain on a block and tackle. Got the engine in but I found this time round I didn’t have the same clearance as last time so ive had to mod the brackets that bolt to the block and the engine mounts so as I have enough clearance. (well dad did it at work but you get the idea)
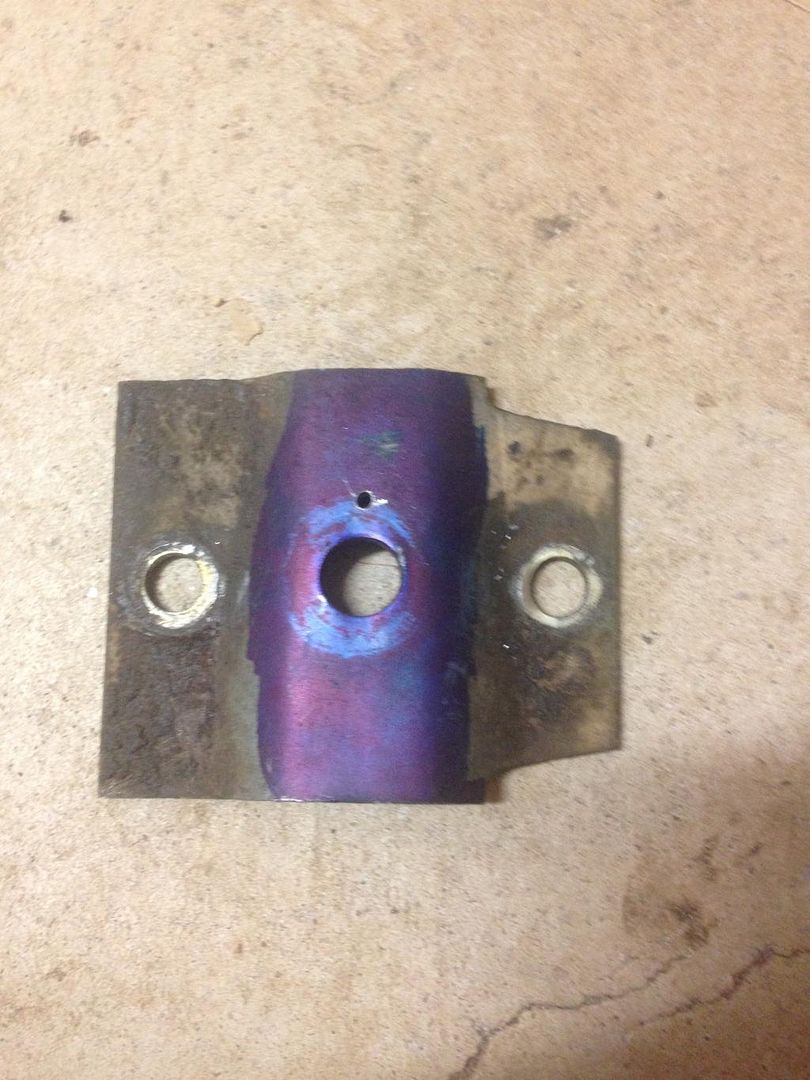
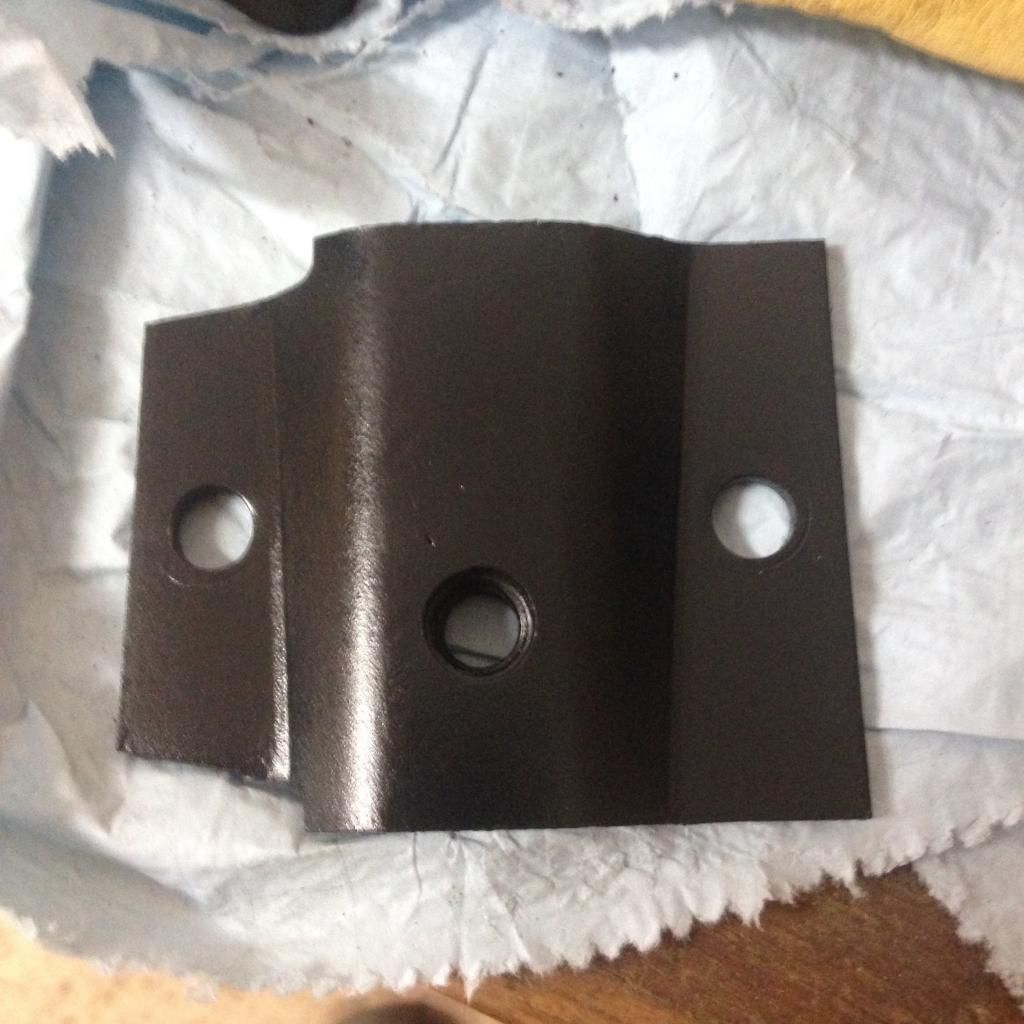
so in order to gain clearance the engine needed to come forward about 10mm. so welded up the old holes where the brackets bolt to the block and adjusted the hole slightly where the engine mount bolt comes though to give the 10mm.
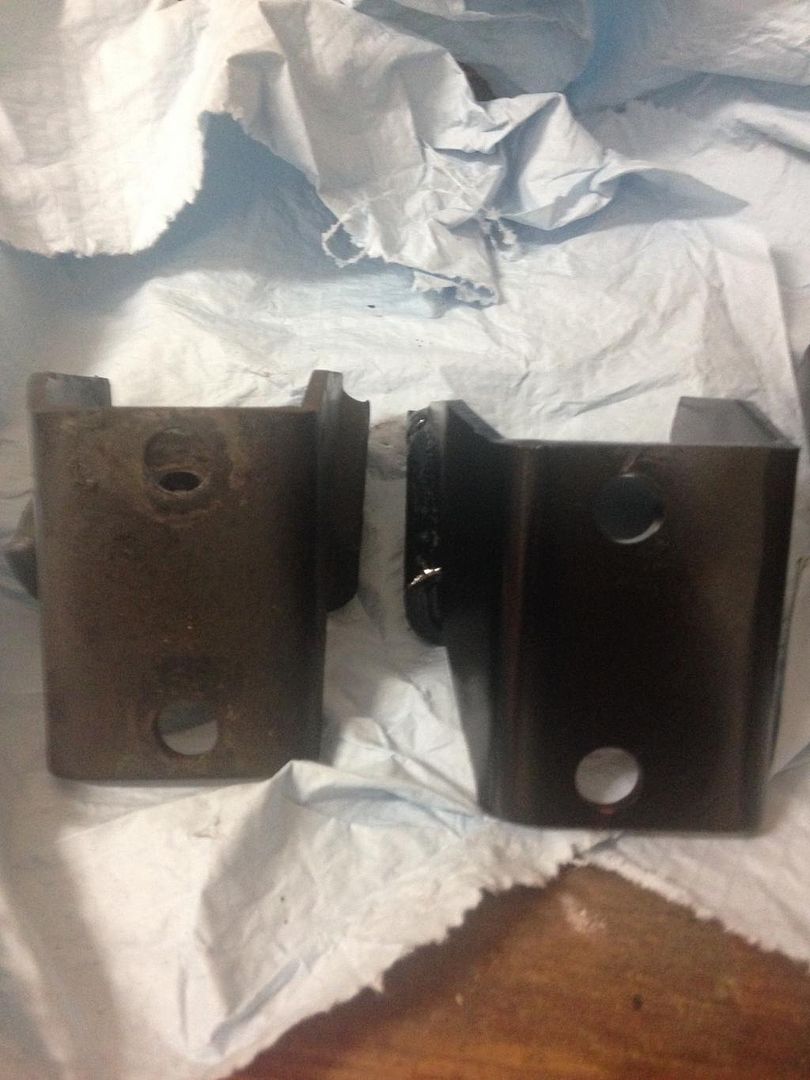
got a few comparisions which its hard to tell but that’s the whole idea.
The holes that bolt to the block had to go forward and the hole for the engine mount had to go back.
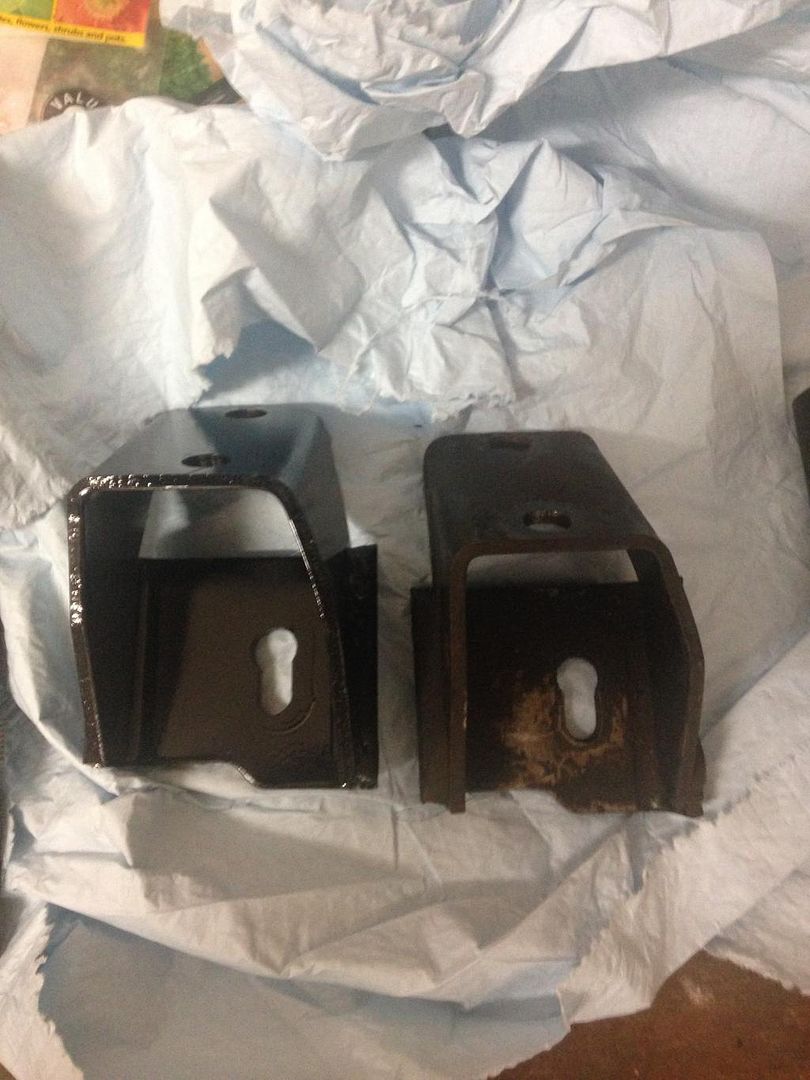
also had to make an adjustment to the gearbox mount bracket, needed to redrill the hole and weld the nut on about the same as the adjustment made to the engine mounts.
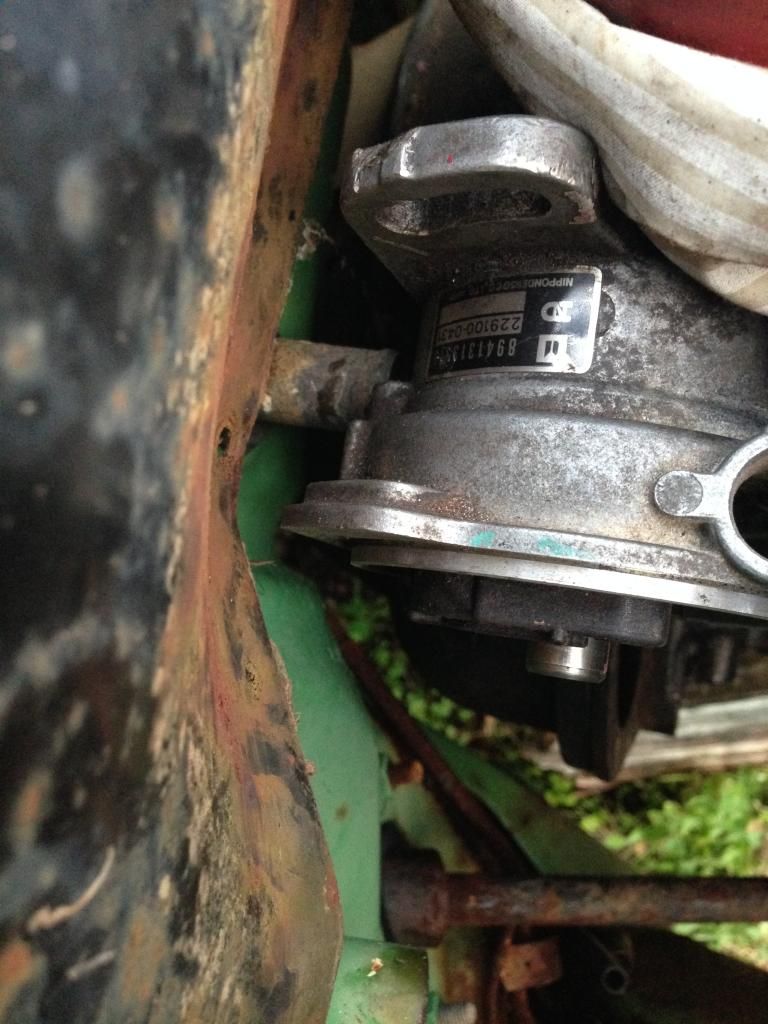
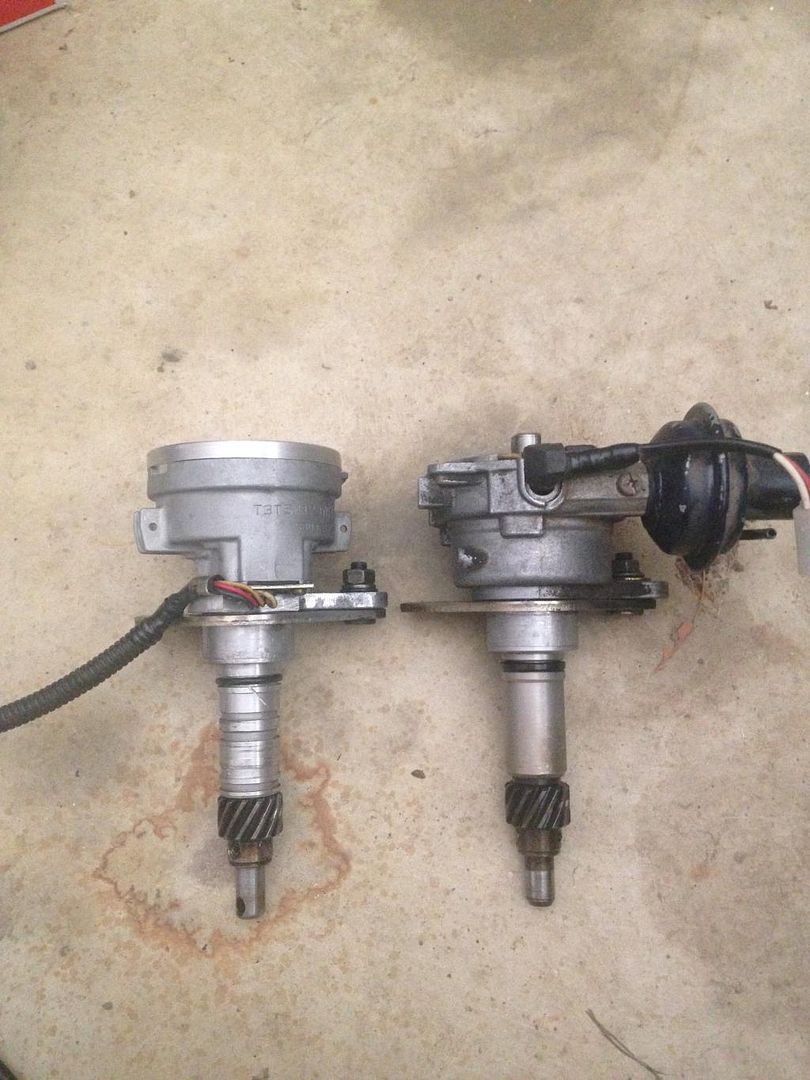
this is the dissy(cas) ive got compared with a standard one. ive test fitted and fits in, just need to get a photo which is hard at the angle.
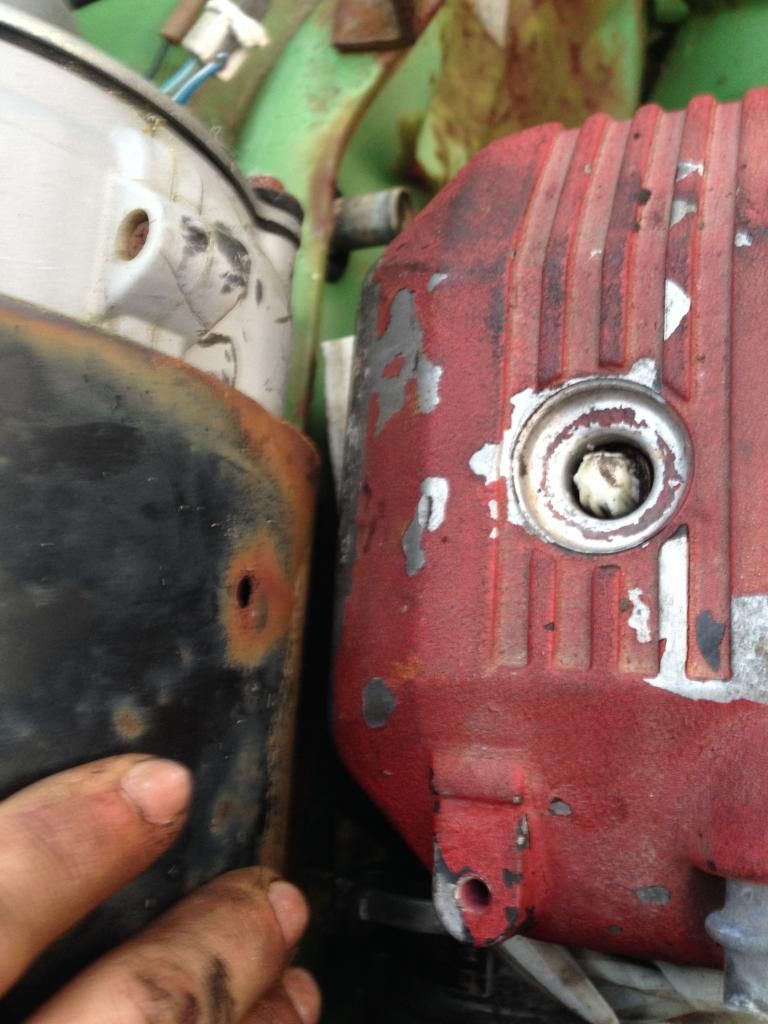
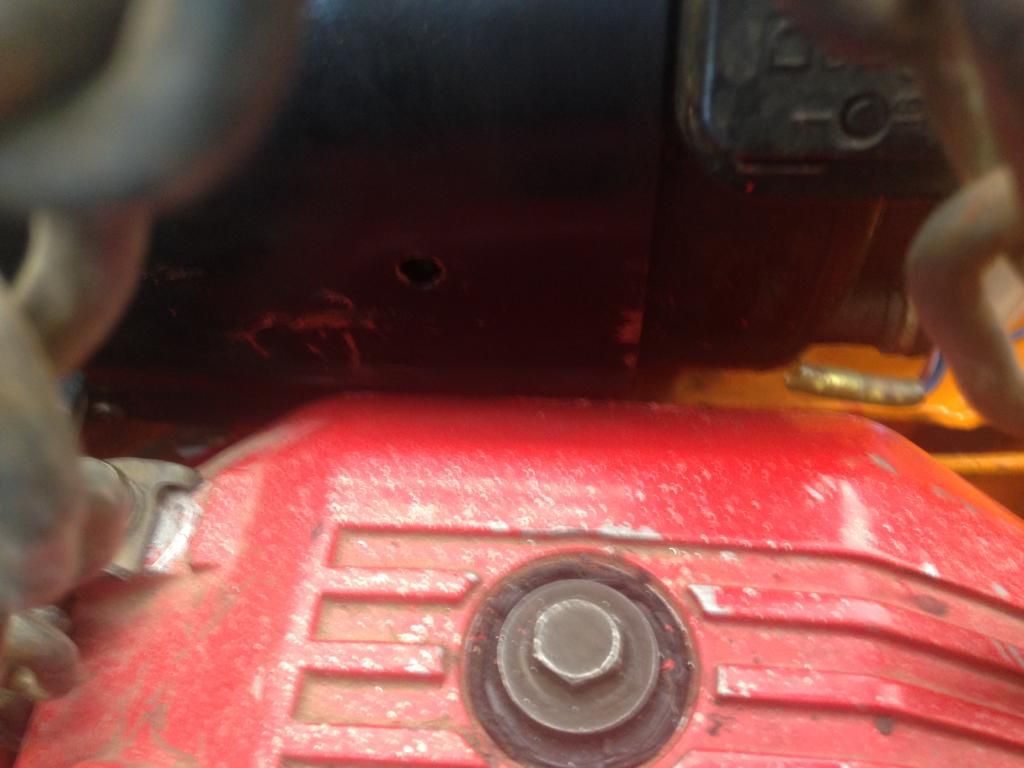
hard to tell but give about 5mm of clearance. If you wanted more just adjust the holes more to suit. There is more clearance down lower at the firewall obviously so in the future ill look in to maybe trimming the actual fan box thing its self.
probably forgotten something so just let me know. happy to update and add to it if needed